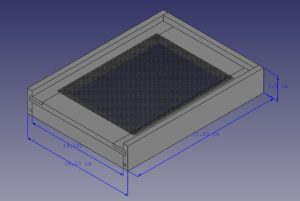
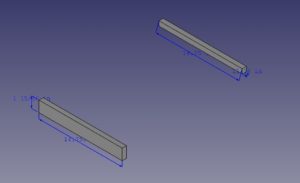
The bottom board is pretty much what it sounds like. It’s the bottom part of the hive. It sits on top of the stand and the rest of the hive sits on top of it. Here’s what it should look like when complete:
Here’s what you’ll need:
- 4 – 1×4 cut to 22″ (Sides & Side Frames)
- 2 – 1×4 cut to 15 1/2″ (Front Frame)
- 2 – 1×4 cut to 14 3/4″ (Filler Strips. Note could use 1×3 instead)
- #8 hardware cloth
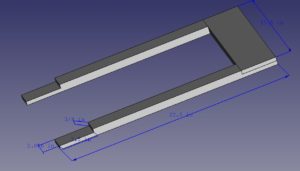
Start by making the frame. Take 2 of the 22″ pieces and cut them to 2″ wide. Route rabbet joint in each end by routing a 3/8″ deep, 2″ wide, 3.5″ long rabbet per the picture. Route a corresponding rabbet in 2 of the 15 1/2″ frame pieces. Glue and nail them together to form a frame. Note: there are other ways to make the rabbet joints like using dado blades on a table saw. My table saw is a piece of crap and won’t accept dado blades so I use a router and make multiple passes with a 3/4″ router bit set to a depth of 3/8″.
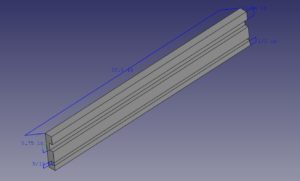
Next make the sides. Again, you can use a dado cutter or a router as I do. First route a slot that’s 3/4″ wide and 3/8″ deep about 13/16″ from the top. Next route a slot 5/16″ wide by 3/8″ deep about 1/2″ from bottom. Assemble the frame and the sides. Glue and nail together.
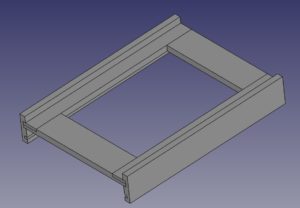
Next cut the front and back filler pieces. Cut one to be 1 15/16″ Wide by 14.75″ long. Cut the other to be 13/16″ wide by 14.75″ long. The first filler mounts on the bottom front of the frame. The second (13/16″) filler mounts on the back of the frame.
Do not mount the hardware cloth yet. The bottom board needs to be painted. I normally do not paint the inside of any hive components, however the bottom board is the exception since it takes a lot of abuse from wind and weather. I paint the entire bottom board, except the top edges of the sides where the slatted board or deep sits. If you set something on top of a painted surface it will stick. For paint I use simple white latex house paint.
Finally, use some metal snips to cut out the hardware cloth to go over the opening inside the frame (about 19″ x 14″). Staple it to the frame (I use stainless staples). You’re done.
